
The Two-Zone Fire: The Setup That Fixes Burnt-Outside-Raw-Inside
One change to how you build the fire, and thick cuts stop torching before they cook through.
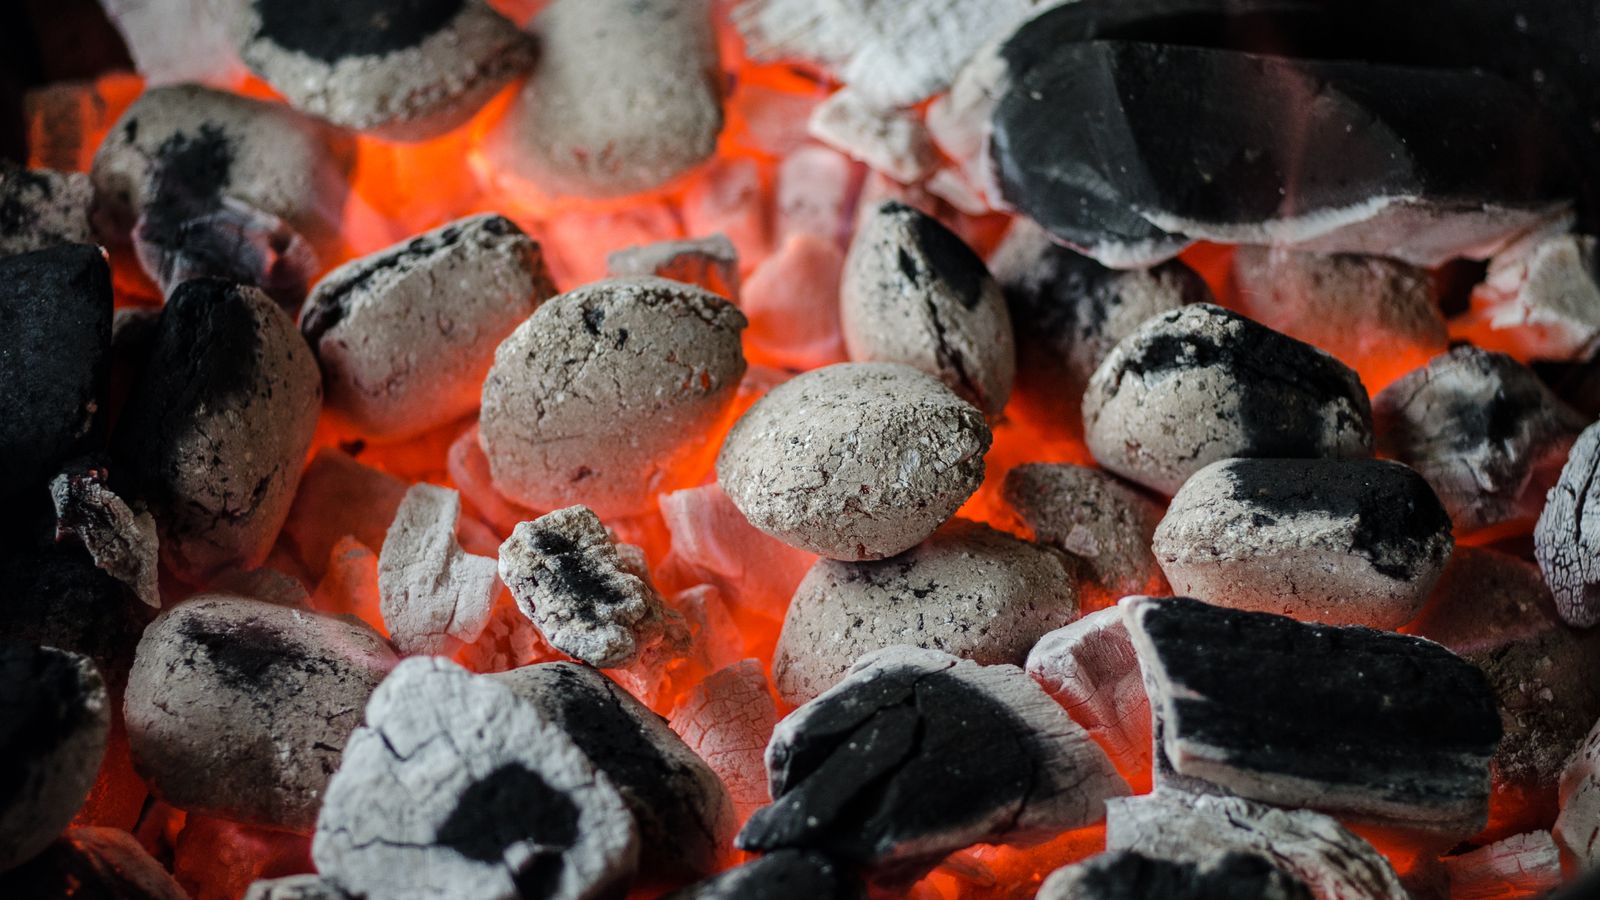
The chicken looks incredible — deep char, glistening skin, grill marks you'd put on a postcard — right up until you cut into a thigh at dinner and the meat by the bone is pink and raw. Or the two-inch steak comes off blackened on the outside and cold in the center. Or the sausages split and burn before they're cooked through. Different foods, same maddening problem, and it's almost never the food's fault.
It's the fire. Dumping everything over one wall-to-wall bed of blazing coals gives you exactly one setting: scorching. Thin food survives that. Anything thick, bone-in, or fatty gets torched on the surface long before the heat crawls to the middle. The fix is the single most useful setup in all of grilling, and it takes about thirty seconds to build: the two-zone fire.
A two-zone fire is just a grill with a hot side and a cooler side. You sear over the hot side for color and crust, then move the food to the cool side and close the lid to finish cooking through gently — like an oven. That's the whole trick, and it fixes burnt-outside-raw-inside for almost everything you'll ever grill.
Why one big fire lets you down
Heat moves through food from the outside in, and it takes time. Over a single roaring fire, the surface hits searing temperature immediately and keeps climbing — charring, then burning — while the center is still catching up. On a thin burger that's fine; the middle is only half an inch away. But on a bone-in chicken thigh or a thick chop, the outside is carbon long before the inside is safe to eat. You're asking one temperature to do two opposite jobs at once, and it can't.
Two zones split those jobs. High, direct heat handles the browning. Low, indirect heat handles the cooking-through. You get both, on your schedule instead of the fire's.
How to build it
The whole idea is to put fire under part of the grill and leave the rest with none.
- Charcoal: once your coals are lit and ashed over, rake or pour them onto one half of the grill and leave the other half bare. Now you have a hot direct side right over the coals and a cool indirect side with nothing beneath it.
- Gas: light the burners on one side and turn them to high; leave the burners on the other side off, or on the lowest setting. Same result — one hot zone, one cool zone.
- Preheat with the lid down for ten minutes so the whole cooking surface comes up to temperature, then scrape the grate clean before food goes on.
If you want a middle gear, bank the coals into a slope — thick on one end, thinning toward the middle — and you'll have a whole range of temperatures to slide food across.
How to actually cook on it
There are two ways to run a two-zone fire, and both beat a single blazing bed.
Sear first, then move. The classic order. Lay the food over the hot side and let it build color and crust, then slide it to the cool side, drop the lid, and let it coast up to doneness in the gentle, all-around heat. The closed lid is what makes it work — it traps heat and turns the cool side into a convection oven, cooking the food evenly from every direction instead of just scorching the bottom.
Slow first, then sear. For thick steaks and roasts, run it backwards: cook gently on the cool side with the lid down until the inside is almost where you want it, then finish with a hard sear over the hot side. That's the reverse sear, and it gives you edge-to-edge doneness with a hard crust and no gray band.
Either way, cook to internal temperature, not to color or the clock. Color tells you the surface is done; only a thermometer in the thickest part tells you the middle is.
What it fixes — which is almost everything
- Bone-in chicken that used to come out charred and raw: sear the skin over the hot side, then finish over the cool side until the thickest part hits temperature. Crisp skin, cooked-through meat.
- Thick pork chops and steaks that torched before the middle warmed up now get a crust and a proper, even interior.
- Sausages that split and burned: cook them mostly on the cool side so the insides come up gently, then color them over the hot side at the end.
- Anything glazed or sauced: sugary sauces burn over direct heat, so brush them on over the cool side in the last few minutes.
Built-in flare-up insurance
Flare-ups happen when fat drips onto the flames and the fire leaps up to lick your food. Over a single fire you just stand there and watch dinner catch. With two zones you have somewhere to go: the instant flames jump, slide the food to the cool side and let the flare burn itself out with nothing over it. It's the difference between a minor moment and a ruined meal.
Reading the two zones
You don't need gadgets, but you do need a rough sense of how hot each side is. The old hand test works: hold your palm a few inches over the grate and count how long you can keep it there. A second or two means high, direct-sear heat — the hot side. Six or seven seconds means the gentle, medium-low range you want on the cool side for finishing. Your lid thermometer is a loose guide for the whole chamber, but trust an instant-read in the food over any dial on the dome.
Set a small pan of water on the cool side for longer cooks. It steadies the temperature and keeps the air a little humid, which helps big cuts stay moist while they finish — the same trick that makes a smoker forgiving.
When you can skip it
Two-zone earns its keep the moment food is more than about an inch thick or has a bone. For thin, fast items — burgers, hot dogs, thin steaks, shrimp, most vegetables — a single well-heated zone is fine, because the center is never far from the surface. But even then, having a cool side to dodge flare-ups makes life easier, so build two zones by default and you'll rarely wish you hadn't.
Keep going
Why Your Steak Sticks to the Grill (And the 30-Second Fix)
It's not the steak fighting you — it's three things you can fix before the next flip.
Your First Brisket: How Not to Ruin a $60 Piece of Meat
The three mistakes that turn a beautiful packer into a dry brick — and how to dodge all three.
How to Reverse-Sear a Steak (The Method Steakhouses Skip Telling You)
Low first, hot last — the backwards order that gives you edge-to-edge pink and a hard crust.